Accurately calculating the required heating capacity for a thermal oil heater is a foundational step…

thermal oil heater startup procedure
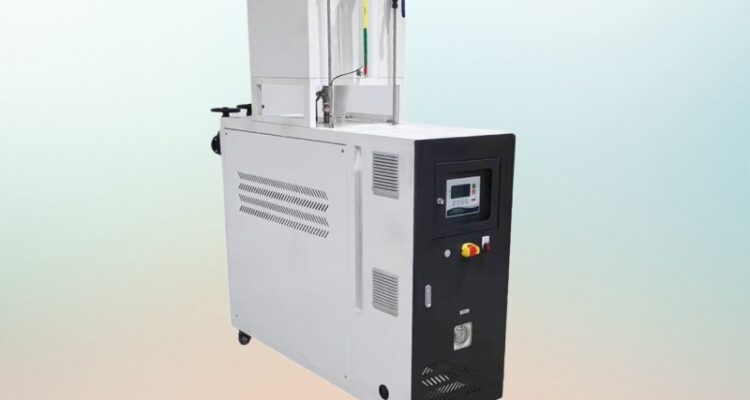
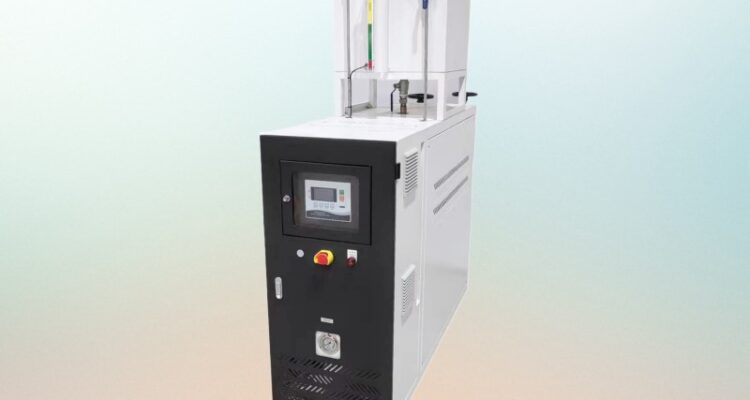
Thermal Oil Heater Startup Procedure: A Complete Step-by-Step Guide
Getting a thermal oil heater up and running the right way is not optional — it is the difference between a system that lasts years and one that fails in months. Rushed startups cause thermal cracking, coking, and oxidation that quietly destroy your heat transfer fluid from the inside out. This guide walks you through the exact startup sequence that keeps your fluid, your equipment, and your operators safe.
Why Startup Matters More Than You Think
Most thermal oil heater failures trace back to one root cause: improper startup. When fluid is cold, it is thick and moves slowly. If you blast full heat into a cold system, the oil sitting near the heater coils absorbs far more energy than it can carry away. That localized overheating cracks the fluid molecules, producing sludge, varnish, and flammable low-boiling fractions. The damage is invisible at first — then shows up as increased viscosity, pump cavitation, and eventually catastrophic failure.
The golden rule is simple: pump first, heat second, and always in small increments.
Pre-Startup Checks Before You Touch Any Button
Before a single valve opens, walk through these checks. Skipping any one of them invites trouble.
Verify System Integrity and Documentation
Read the operating manual cover to cover. Check that the Certificate of Fitness has not expired. Confirm the maximum permissible working pressure — it is marked by a red line on the pressure gauge — and know your maximum allowable fluid temperature. For mineral-based oils, that ceiling sits between 270°C and 315°C. Synthetic or aromatic fluids push that range to 315–400°C, but never exceed the manufacturer’s stated limit.
Inspect every joint, flange, and pump seal. Make sure the expansion tank has the correct oil level — typically one-third full when cold. Check that all drain valves on the circulation loop are closed and that strainers are clean. A clogged strainer shows up as abnormal pump pressure or cavitation noise within the first few hours of operation, so clean it proactively.
Confirm Fuel and Electrical Systems
For fired heaters, verify the fuel tank, pipeline, and valves are in working order. The fuel supply pressure should read between 0.5 and 1.5 kg/cm². For electric heaters, confirm the control panel power is on and all circuit breakers are engaged.
If your burner uses two nozzles, set the switch to nozzle one for initial startup. This gives you a lower flame and gentler heat input while the system comes up to temperature.
The Actual Startup Sequence: Step by Step
This is where most operators get it wrong. Follow this sequence exactly.
Step 1 — Start the Circulating Pump First
Turn on the main power source, then switch on the circulating pump from the control panel. Slowly open the valve in front of the pump while watching the pressure gauge. You need to confirm flow before any heat is applied. No flow, no heat — that is non-negotiable.
For fired systems, purge the furnace thoroughly before ignition. This expels any explosive mixture that may have accumulated inside. Repeat the purge every time you start a firing sequence.
Step 2 — Initial Warm-Up: 10°C Per Hour to 90°C
Begin heating at a rate of roughly 10°C per hour. This slow ramp drives off residual moisture in the system. When the fluid reaches 90–100°C, you enter the dehydration zone.
Here is what to watch for: if the expansion tank vent is spitting out large volumes of vapor, you hear water hammer in the pipes, or pressure gauges start swinging wildly — stop heating immediately. Hold the temperature steady until the venting calms down. This phase can take hours depending on how much water is trapped in the system.
Step 3 — Push Through to 120°C at 5°C Per Hour
Once the venting quiets and the pump stops cavitating (no more heavy gasping sounds, outlet pressure above 0.1 MPa), resume heating at 5°C per hour. Do not exceed 120°C in this phase. You are still driving out the last traces of moisture and light volatiles.
Step 4 — Degas at 190–230°C
When the temperature hits 190–230°C, pause again. This is the degasification stage. Light fractions in the oil turn to gas and can cause vapor lock, making pump pressure unstable and flow drop. Hold temperature until the vent runs clear and pump pressure stabilizes. Depending on fluid quality, this can take a while.
Step 5 — Final Ramp to Operating Temperature at 20°C Per Hour
After degassing is complete, ramp up at 20°C per hour until you reach your normal operating temperature. For many systems this means climbing to around 280°C. At this point, check every gauge, alarm, and instrument. Make sure they all read correctly and respond properly.
Some operators use a simpler increment method: raise temperature in 20–25°F (11–14°C) steps, holding at each step until the fluid viscosity drops below 10 centipoise. This ensures turbulent flow through the heater coils, which means the fluid removes heat as fast as the heater can supply it — no hot spots, no cracking.
Running the System: What to Monitor Constantly
Once you hit operating temperature, do not walk away. Keep eyes on these parameters at all times:
- Pressure, temperature, and flow rate of the thermal oil
- Fluid level in the expansion tank — a drop here means trouble
- Combustion condition inside the furnace (for fired units)
- Pump current and noise — any change signals a developing problem
Run the system for 40–50 hours through several heat-up and cool-down cycles before you consider commissioning complete. This is when hidden issues surface — leaks, air pockets, misaligned controls.
Shutting Down the Right Way
How you shut down matters just as much as how you start up.
Turn off the heater first. Then keep the circulating pump running. The pump carries residual heat out of the heater, the process equipment, and the piping. If you kill the pump while the system is still hot, that trapped heat cooks the fluid in place — thermal cracking happens fast.
Let the pump run until the outlet temperature drops to roughly 100°C (some guidelines say 70°C for electric systems). Only then is it safe to shut off the pump. For fired heaters, some operators hold circulation until the temperature reaches 200°F (93°C) — follow your specific manual.
Close the vent valve on the expansion tank once the system is cool and depressurized.
Common Startup Mistakes That Kill Your Fluid
Rushing is the number one killer. Other frequent errors include:
- Heating with no flow. If the pump is off, the oil near the heater coils overheats in minutes.
- Skipping the dehydration hold. Moisture at high temperature turns to steam, causing pressure spikes and water hammer.
- Ignoring the expansion tank level. Low fluid level means pump cavitation, which destroys seals and bearings.
- No furnace purge on fired units. An unpurged furnace with residual fuel vapor is an explosion waiting to happen.
- Mixing different fluid types. Mineral and synthetic oils do not play well together. Use one type consistently.
A Final Note on Maintenance During Startup
New systems need extra attention. Clean the pump inlet strainer after the first week of operation, then every three months after that. Tighten all electrical connections at startup, one week later, and every three months thereafter. Take fluid samples regularly and send them for analysis — oxidation and cracking build up silently, and a lab report catches problems long before they become failures.
Startup is not a race. It is a controlled, deliberate process. Respect the increments, watch the gauges, and your thermal oil heater will deliver reliable heat for years to come.
Related Posts