Accurately calculating the required heating capacity for a thermal oil heater is a foundational step…
thermal oil heater low pressure issue
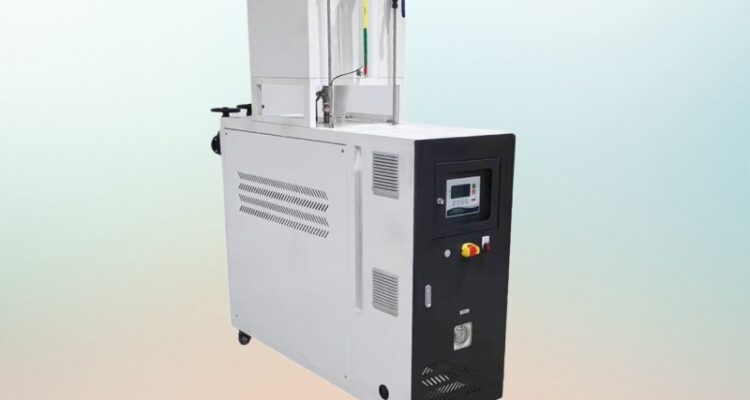
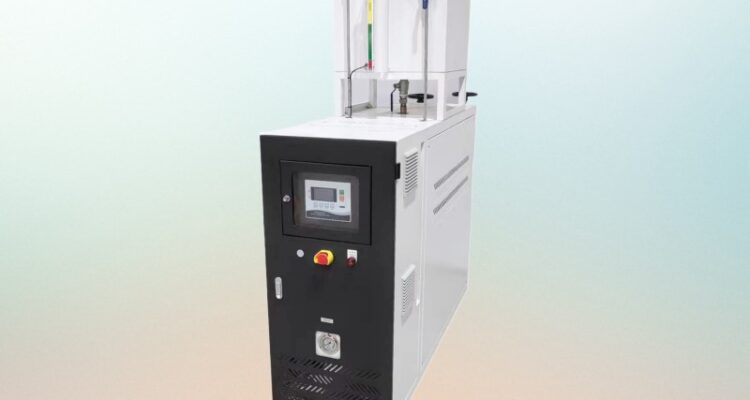
Thermal Oil Heater Low Pressure: What Causes It and How to Fix It Before the System Shuts Down
The pressure gauge on your thermal oil heater drops below the red line. The alarm goes off. The system trips to safety lockout. You stare at the gauge wondering what just happened because everything was fine yesterday. Low pressure in a thermal oil system is not a random event. It is a symptom. Something is leaking, something is blocked, or something has failed. And if you do not find the root cause fast, you are looking at oil loss, air ingress, pump damage, and a system that will not restart until you fix it.
Why Pressure Drops in a Thermal Oil System
Thermal oil systems operate under pressure for a reason. The pressure keeps the oil liquid at high temperatures, prevents air from getting in, and maintains flow through the loop. When that pressure falls, the whole system becomes unstable. The oil can start boiling at lower temperatures than designed. Air gets sucked in through every tiny leak. The pump loses its prime. Everything cascades from there.
The pressure drop is rarely the pump’s fault. Most operators blame the pump first because it is the moving part and the most visible component. But the pump is usually just reacting to a problem somewhere else in the loop. The real cause is almost always one of these: a leak, a blockage, air in the system, or a failed component in the expansion tank.
The Most Common Causes of Low Pressure
Oil Leaks in the Piping or Fittings
This is the most obvious cause and the most common one. Thermal oil systems run hot and the pressure is constant. Over time, gaskets dry out, flanges loosen, and weld joints crack. Even a tiny pinhole leak will drain pressure over hours or days.
The tricky part is finding the leak. Thermal oil does not drip like water. It seeps. It leaves a thin film on the pipe surface that hardens into a dark crust. By the time you see oil on the floor, the system has been losing pressure for a long time.
Walk the entire loop. Look for dark streaks on pipes, especially around flanges, valve stems, and pump connections. Use a UV flashlight if you have one — fresh thermal oil fluoresces under UV light, which makes even tiny leaks visible. Check the expansion tank level too. If the level is dropping without anyone adding oil, you have a leak.
Air Entering Through a Failed Seal
Air does not need a big hole to get in. A tiny gap at a flange, a cracked gasket, or a loose pump seal is enough. When air enters the system, it displaces oil and the pressure drops. The air also collects at the highest point in the loop, which creates an air pocket that the pump cannot push through.
The worst part is that air ingress is slow. You might not notice the pressure drop for days. By the time you do, the oil has already started oxidizing because air and hot oil do not mix well. Oxidized oil thickens, which reduces flow, which drops pressure further. It is a downward spiral.
Check every seal in the system. Pump shaft seals, valve packing, flange gaskets, expansion tank bladder seals. Any one of them can let air in. Replace seals preventively every two to three years instead of waiting for a failure.
Blocked or Clogged Strainer
The pump inlet strainer is supposed to catch debris before it reaches the pump. But when it clogs, it does the opposite — it starves the pump of oil. The pump cavitates, flow drops, and the system pressure falls.
A clogged strainer is silent. There is no alarm for it. The pressure just slowly creeps down until the system trips. Check the strainer every time you change the oil. Clean it with solvent, blow it out with compressed air, and inspect the mesh for tears. A torn mesh lets debris through and clogs the strainer faster. Replace the strainer if the mesh is damaged.
Expansion Tank Bladder Failure
The expansion tank is the pressure regulator of the entire system. It has a bladder or diaphragm that separates the oil from a nitrogen or air cushion. When the oil heats up and expands, it pushes into the tank and compresses the gas cushion. When the oil cools, the gas pushes the oil back into the loop.
If the bladder fails, the gas and oil mix. The tank loses its ability to absorb expansion. System pressure spikes when hot and crashes when cold. The pressure gauge swings wildly instead of holding steady. Over time, the pressure trend is downward because the gas slowly leaks out through the failed bladder.
Check the expansion tank pressure when the system is cold. It should match the pre-charge pressure specified by the manufacturer. If it is low, the bladder has failed or the pre-charge has leaked. Replace the bladder or the entire tank. Do not try to patch it.
Pump Seal Failure
The pump shaft seal keeps oil inside the pump housing. When it fails, oil leaks out along the shaft and pressure drops. You might see oil dripping from the pump base or a wet stain around the coupling. But sometimes the leak is internal — oil leaks past the seal into the atmosphere without any visible drip.
A failing pump seal also lets air in, which compounds the pressure problem. Check the pump seals every six months. Look for oil on the floor near the pump, listen for air hissing sounds, and check the pump inlet pressure. If the inlet pressure is low but the pump is running, the seal is leaking.
How to Diagnose Low Pressure Fast
Check the Expansion Tank First
Before you tear apart the piping, check the expansion tank. Is the oil level normal? Is the gas pre-charge correct? Is the bladder holding pressure? This one check rules out the most common cause of slow pressure drop. If the tank is fine, move on.
Inspect the Pump Inlet Pressure
Install a pressure gauge on the pump suction line. If the suction pressure is low, the pump is not getting enough oil. That means a clogged strainer, a blocked line, or an air lock. If the suction pressure is normal but the discharge pressure is low, the pump itself is worn and losing internal efficiency.
Pressure Test the System
When the system is cold and depressurized, pressurize it with nitrogen to 1.5 times the operating pressure. Hold it for an hour. If the pressure holds, there are no leaks. If it drops, you have a leak. Use soapy water on every joint and connection — bubbles will form at the leak point. This takes an hour and finds leaks that you would never see by eye.
Check for Air in the Oil
Take an oil sample and look at it in a clear container. If you see bubbles, air is dissolved in the oil. That means air is getting in somewhere. Bubbles in the oil also mean the oil is oxidizing, which will thicken it and reduce flow. Change the oil and find the air entry point.
What Happens If You Run the System with Low Pressure
Running a thermal oil heater with low pressure is dangerous. The oil can flash to vapor at temperatures far below its normal boiling point. Vapor in the pump causes cavitation, which destroys the impeller in hours. Vapor in the heater creates hot spots that crack the oil and coke the tubes. Air in the system accelerates oxidation, which turns the oil into sludge.
The safety system is there for a reason. When pressure drops below the setpoint, the burner shuts off. Do not bypass that safety. Do not keep restarting the system after repeated lockouts. Find the cause, fix it, and then restart.
Preventing Low Pressure Problems Before They Start
Inspect Seals and Gaskets Every Six Months
Do not wait for a leak to appear. Seals degrade slowly. By the time you see oil, the seal has been failing for weeks. Schedule a seal inspection every six months. Replace any seal that shows signs of wear — hardening, cracking, or compression set.
Change the Oil on Schedule
Old oil thickens. Thick oil does not flow well. Poor flow means low pressure at the pump inlet. Most operators change oil based on time, but you should also change it based on viscosity. If the viscosity has climbed more than twenty percent above the baseline, the oil is too thick. Change it before it causes a pressure problem.
Keep the Expansion Tank in Good Shape
Check the tank pre-charge every quarter. Inspect the bladder annually. Replace the bladder every three to five years depending on duty cycle. A healthy expansion tank keeps pressure stable. A failed tank causes pressure chaos.
Clean the Strainer Every Oil Change
This takes five minutes. Pull the strainer, clean it, check the mesh, reinstall it. A clean strainer means the pump gets full flow, which means stable pressure. A clogged strainer means cavitation, which means pump damage, which means a much bigger repair than a five-minute cleaning.
Low pressure in a thermal oil heater is never just a gauge reading. It is a warning that something in the system is failing. The leak might be tiny. The air ingress might be slow. The bladder might be losing gas gradually. But all of these things get worse over time, and the repair gets more expensive every day you wait. Check the expansion tank, inspect the seals, clean the strainer, and pressure test the loop. Most low pressure issues are fixable in an afternoon if you catch them early.
Related Posts