Accurately calculating the required heating capacity for a thermal oil heater is a foundational step…
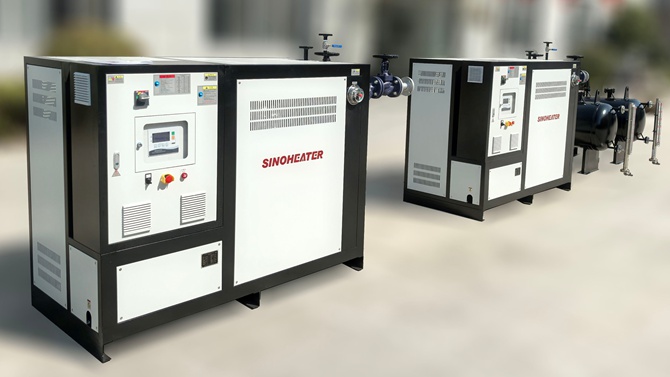
thermal oil heater pressure testing
Conducting a pressure test on a thermal oil heater system is a critical procedure for verifying the integrity of the entire closed loop after installation, major repairs, or at scheduled intervals. Unlike steam or water systems, thermal oil loops operate under different principles, making the testing approach unique. A properly executed pressure test confirms that all welds, flanges, valves, and the heater coil itself can safely contain the fluid under operating conditions, preventing dangerous leaks, costly downtime, and potential safety incidents.
Preparation and Safety Protocols for Hydrostatic Testing
The most common method is a hydrostatic test, which involves filling the system with a test fluid (usually water) and pressurizing it to a level above the normal operating pressure. Before introducing any pressure, the system must be completely isolated. This means closing all valves to separate the test section, physically disconnecting or blinding off the expansion tank, and ensuring all safety relief valves are either removed or have their inlet valves closed to prevent damage.
Safety is paramount during this phase. All personnel must be clear of the area, and pressure gauges of appropriate range and calibration must be installed at key points. The test pressure is typically set at 1.5 times the system’s maximum allowable working pressure (MAWP), as per applicable engineering standards and local regulations. It is crucial to refer to the system’s original design documentation and any relevant pressure vessel codes to determine the correct test pressure and hold time.
Executing the Pressure Test and Monitoring for Integrity
With the system prepared and filled with the test fluid (ensuring all air is vented from high points), pressure is gradually increased using a dedicated test pump. The pressurization rate should be slow and controlled, typically not exceeding a specified value (e.g., 10 psi per minute), to allow components to adjust evenly and for observers to monitor for any issues. Once the target test pressure is reached, it is held for a minimum specified duration, often 30 minutes to several hours.
During the hold period, the primary objective is to check for leaks and a stable pressure reading. Technicians will systematically inspect every joint, weld, flange connection, valve stem, and the heater coil for any signs of weeping, dripping, or bulging. A small drop in pressure is normal due to fluid temperature equalization, but a significant or continuous drop indicates a leak. Using a soap solution on suspected areas can help identify small leaks by forming bubbles. For the heater’s pressure-containing parts, a visual inspection for any permanent distortion or deformation is also conducted.
Post-Test Draining, Drying, and Return to Service
After successfully holding the test pressure with no visible leaks or permanent deformation, the pressure is slowly bled down to zero. The test fluid is then completely drained from the system. For thermal oil systems, removing all water is an absolutely critical step. Any residual water left in the low points of piping or the heater will violently flash to steam when the hot oil is introduced, creating a severe safety hazard.
Thorough drying is achieved by blowing the system with dry, oil-free air or nitrogen, and using vacuum pumps if necessary, until a dew point test confirms no moisture remains. Only after the system is verified as completely dry can it be refilled with the correct grade of thermal fluid. The final step involves bringing the system online with a careful heat-up procedure to slowly purge any remaining traces of air or moisture before reaching normal operating temperature. A properly documented pressure test, including test pressure, hold time, inspection results, and sign-off, becomes a vital part of the system’s safety and maintenance records.
Related Posts