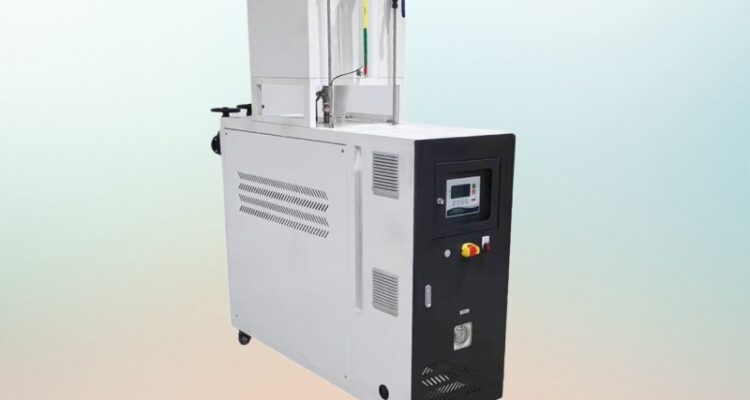
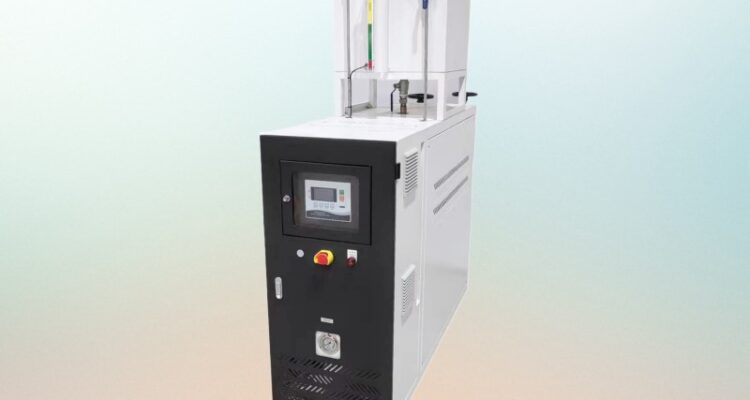
Accurately calculating the required heating capacity for a thermal oil heater is a foundational step…
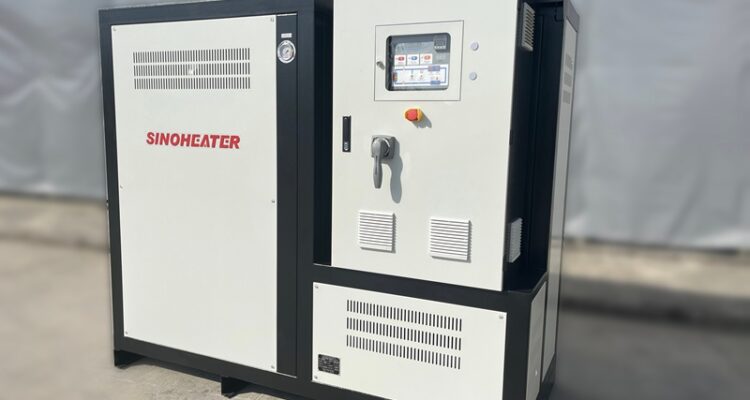
thermal oil heater pipe insulation method
Proper pipe insulation for a thermal oil heater system is one of the most cost-effective, low-effort ways to lock in consistent heat performance, cut unnecessary energy waste, and create a far safer working environment around high temperature piping. The right insulation approach eliminates avoidable heat loss that would otherwise force the system to run harder to maintain target process temperatures, even during long continuous operation cycles.
Pre-Installation Pipe Surface Preparation
Before any insulation material goes on, the full length of the piping must be fully inspected and prepped to ensure long term, reliable performance. All weld points, connection flanges and valve surfaces need to be cleaned completely to remove loose rust, leftover welding slag, oil residue and any other surface debris that could trap moisture against the metal. A thin, even layer of anti-corrosion coating is applied to every exposed section of the pipe, to stop hidden rust from forming under the insulation layer that would slowly eat away at piping walls over years of high temperature cycling. Teams also mark every access point, pressure gauge and sensor location clearly at this stage, so these critical check points stay fully accessible after insulation is installed, with no accidental coverage that blocks routine inspection.
Layered Insulation Structure Application
The insulation is built up in multiple thin, staggered layers instead of one single thick block, to eliminate gaps and seams that would let heat escape through unprotected spots. The first inner layer is fitted tightly against the pipe surface, with no empty air pockets left between the pipe and insulation that would trap moisture and reduce thermal performance. Each subsequent layer is applied so its seams do not line up with the seams of the layer below it, breaking any potential path for heat to leak out through the joint lines. For sections of piping that run through exposed outdoor or high-traffic industrial zones, extra thickness is added to account for ambient temperature swings and accidental physical contact from passing equipment or staff. All insulation around flanges and valves is made to be easily removable, so these points can be accessed quickly for routine maintenance without tearing apart permanent insulation sections.
Outer Protective Seal and Weatherproofing
Once the full insulation layer is in place, a durable, continuous outer jacket is wrapped around the entire structure to shield it from moisture, dust and physical damage. All seams on the outer jacket are sealed tightly, and the ends are clamped firmly at pipe support points to stop rainwater, washdown water or high humidity from seeping into the insulation material. Special attention is paid to the lowest points of the piping run, where any trapped moisture would naturally collect and cause the most damage over time. Small drainage holes are added at these low spots to let any accidental trapped moisture drain out automatically, so it never sits in contact with the pipe surface for long periods. This outer layer also creates a cool-to-touch exterior surface that drastically reduces the risk of accidental burn injuries for staff working near the high temperature piping.
Facilities that follow this structured insulation method notice a clear drop in unnecessary heat loss across their thermal oil heater loop, and they rarely face the common issues of degraded, waterlogged insulation that forces full rework after just a few years of operation. The consistent insulation performance keeps the entire system running more efficiently, with far less strain on the main heat source to maintain stable target temperatures.
Related Posts