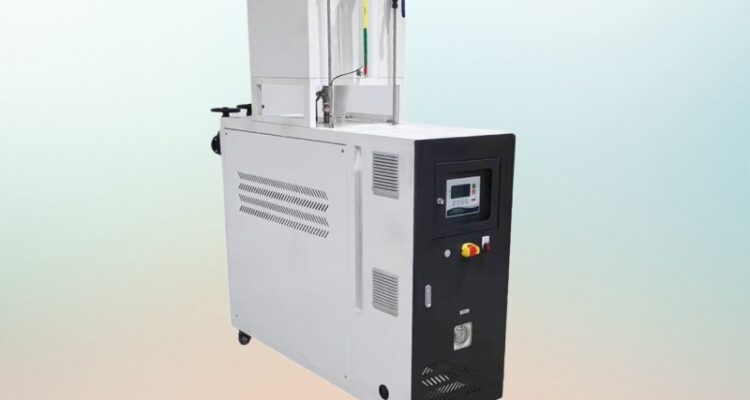
Accurately calculating the required heating capacity for a thermal oil heater is a foundational step…
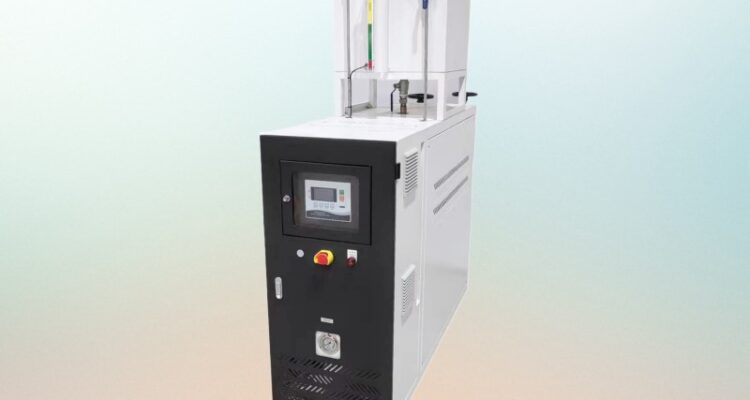
thermal oil heater indoor installation
When setting up a thermal oil heater inside a building, every detail of the installation process directly impacts daily operational safety, long-term running efficiency, and compliance with local industrial rules. Many teams overlook small but critical steps during indoor setup, which can lead to unexpected performance drops, unplanned downtime, or even avoidable safety risks down the line.
Core Site Preparation Rules for Indoor Thermal Oil Heater Setup
Before any equipment arrives at the installation spot, you need to map out the full layout of the indoor space to eliminate hidden hazards in advance.
Pick a location that sits on a completely flat, non-combustible base, with no overhanging flammable materials like loose insulation, fabric storage, or stacked paper products within 3 feet of the heater’s outer frame. Keep clear unobstructed paths around all sides of the unit, so maintenance teams can reach every part of the system without moving extra heavy obstacles during routine checks. Make sure the floor load capacity matches the total weight of the fully assembled heater plus the full volume of thermal oil, to prevent structural deformation over long periods of use.
Separate the designated fuel storage zone from the main heater body with a proper fire-resistant partition, and place all related fuel lines in sealed, marked troughs to avoid accidental damage from foot traffic or other nearby equipment. Mark all emergency exit routes within the installation area clearly, and keep these routes completely free of any stored items at all times.
Ventilation and Air Flow Configuration
Proper ventilation is one of the most critical parts of a safe and stable indoor thermal oil heater installation, and it cannot be skipped no matter the size of the unit.
Design the air intake system to pull in enough fresh outdoor air to support full combustion, without creating negative pressure inside the room that could pull exhaust gases back into the working space. Place exhaust outlets at the highest point of the indoor space where possible, to guide all flue gases completely out of the building, and make sure the exhaust ducts have no loose joints or unapproved openings that could leak harmful gases into surrounding work areas. Add dedicated air exchange points near the heater’s heat radiation zones, to keep the ambient room temperature within a safe working range for staff and prevent overheating of nearby electrical wiring.
Never block any natural or mechanical ventilation openings with stored tools, packaging materials, or other temporary items after installation is finished. Check that all ventilation paths are not connected to other unrelated indoor air circulation systems, to avoid cross-contamination of exhaust fumes into other rooms in the building.
Electrical and Control System Installation Guidelines
The wiring and control setup for an indoor thermal oil heater needs to follow strict safety standards to prevent accidental power-related hazards during operation.
Run all power cables through heat-resistant insulated conduits, and keep these lines at a safe distance from the heater’s high-temperature coil sections to avoid cable insulation damage from long term heat exposure. Do not connect the heater’s power supply to a circuit that is regularly switched on and off by the public utility grid, and never link the unit to an external timer or separate remote switching device that could cause unintended resetting of the thermal cut-out safety feature. All control sensors for temperature, pressure, and thermal oil flow should be mounted in easily accessible, clearly visible positions, so operators can read real time data without needing to climb over equipment or reach into tight spaces.
Set up all remote diagnostic and alarm notification functions as part of the initial installation process, so any abnormal operating condition can be flagged immediately to on-site staff. Make sure all electrical connection points are sealed properly to keep out dust and minor moisture that could build up in an indoor industrial environment over months of use.
Post-Installation Testing and Compliance Checks
Once all physical parts of the installation are in place, run through a full set of non-operational and low-load tests before you move to full continuous use.
Check all access inspection doors and cleanout ports to confirm they open smoothly and seal completely, with no gaps that could leak thermal oil or hot air during operation. Test the thermal oil degradation monitoring system to make sure it can pick up early signs of sludge formation, before the system runs at full working temperature. Verify that all safety interlocks trigger correctly when you simulate abnormal conditions, including low oil flow, overheat, and unexpected pressure spikes.
Cross reference every part of your installation work against local industrial safety and fire codes, to make sure the full setup meets all required standards for indoor thermal system operation. Keep full, clear records of every installation step and test result, for future routine maintenance reference and regular safety audits.
Related Posts